
Yesterday while I was editing a raw file in Adobe Camera RAW (ACR) I used the Generative AI Remove feature to deal with a shadow created by some dust on my sensor. It removed the spot from the sky in the image but inserted a roundish object in its place. I remember thinking, “That’s odd? Did ACR just add a 3/4 moon in place of the dust spot?” But I then forgot about it and continued editing.
Today I again used the Generative AI Remove function to remove another faint dust shadow in the sky of another photograph from the same shoot. It happened again! I think Adobe Generative AI may be hallucinating!
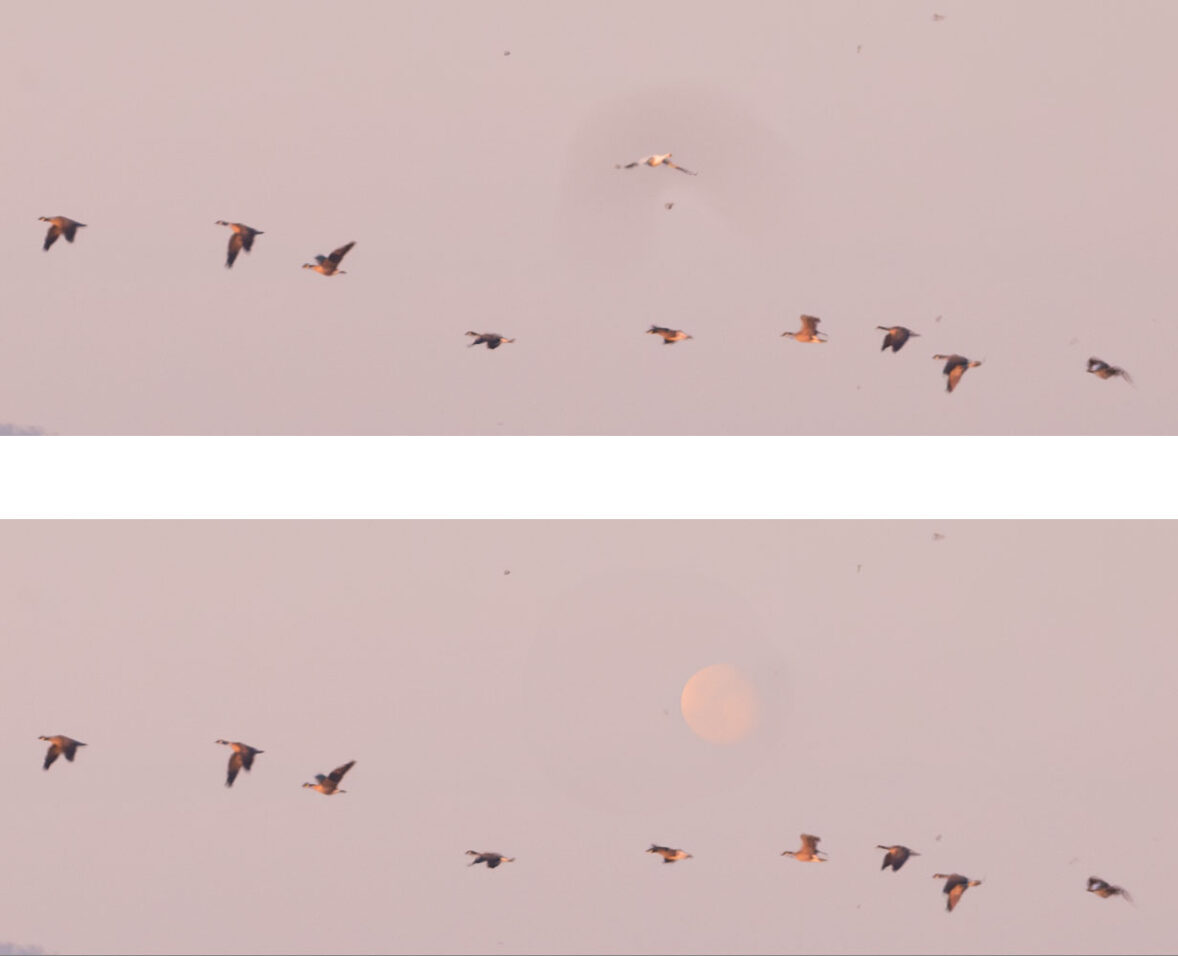
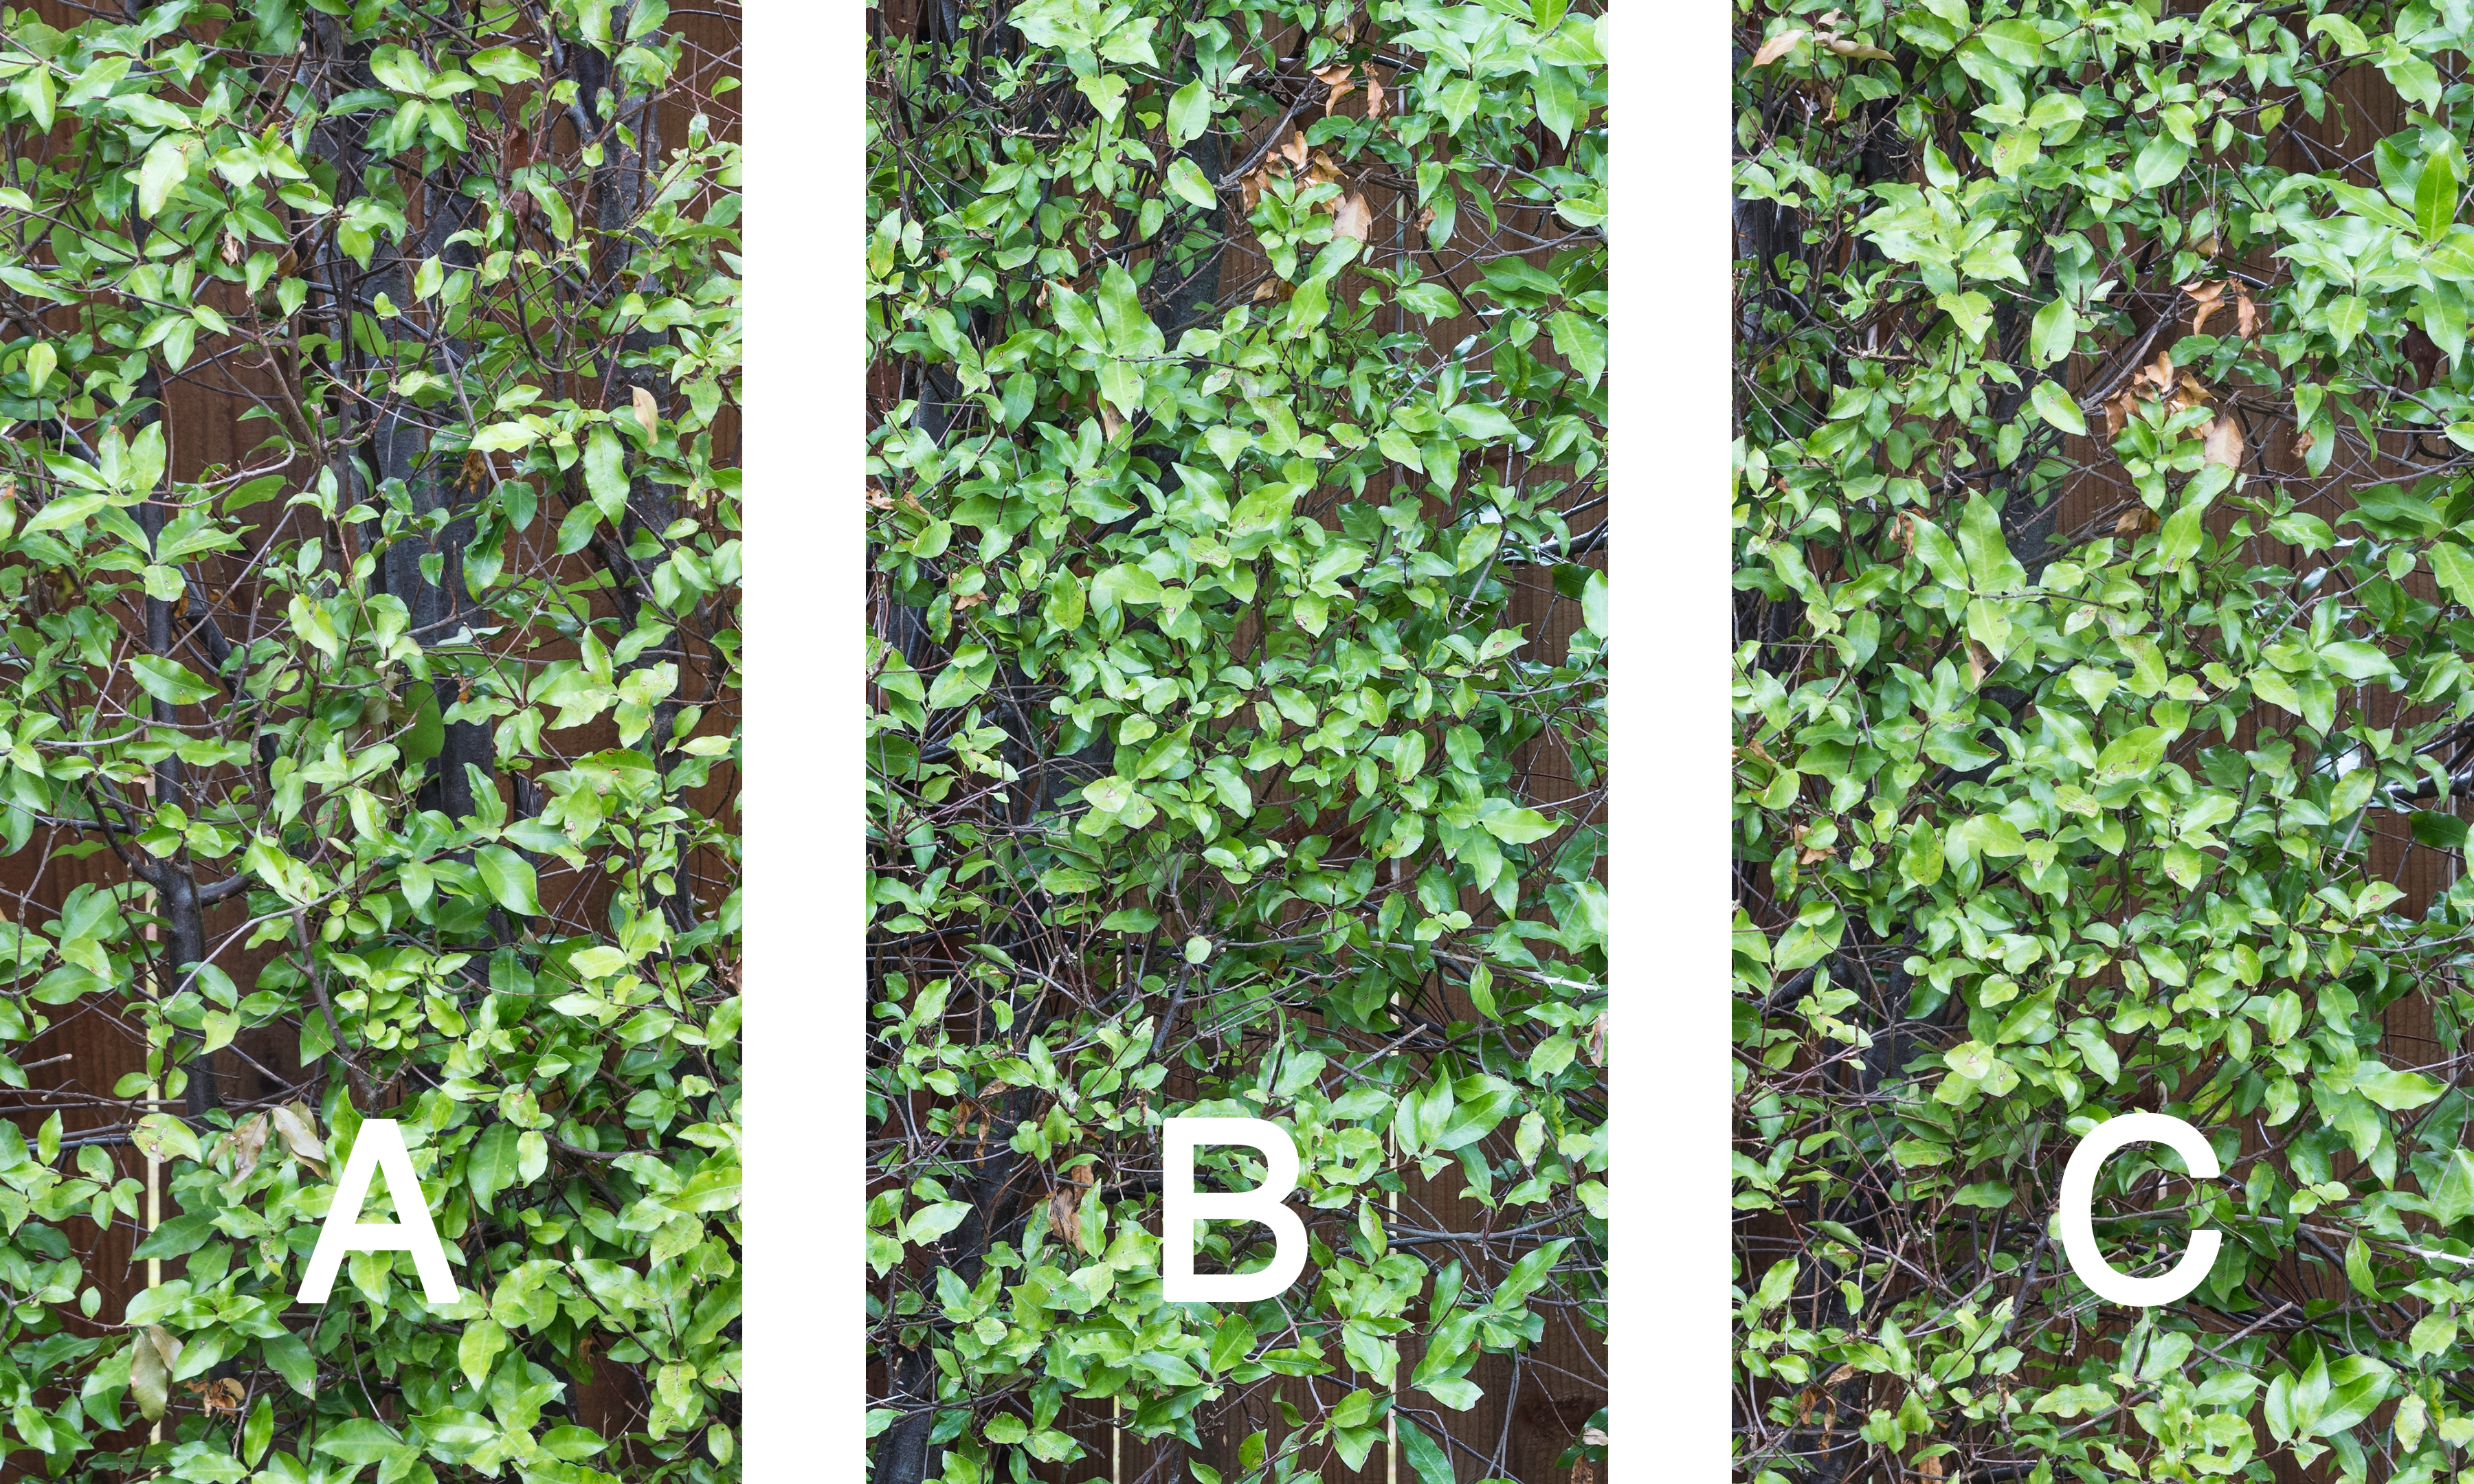
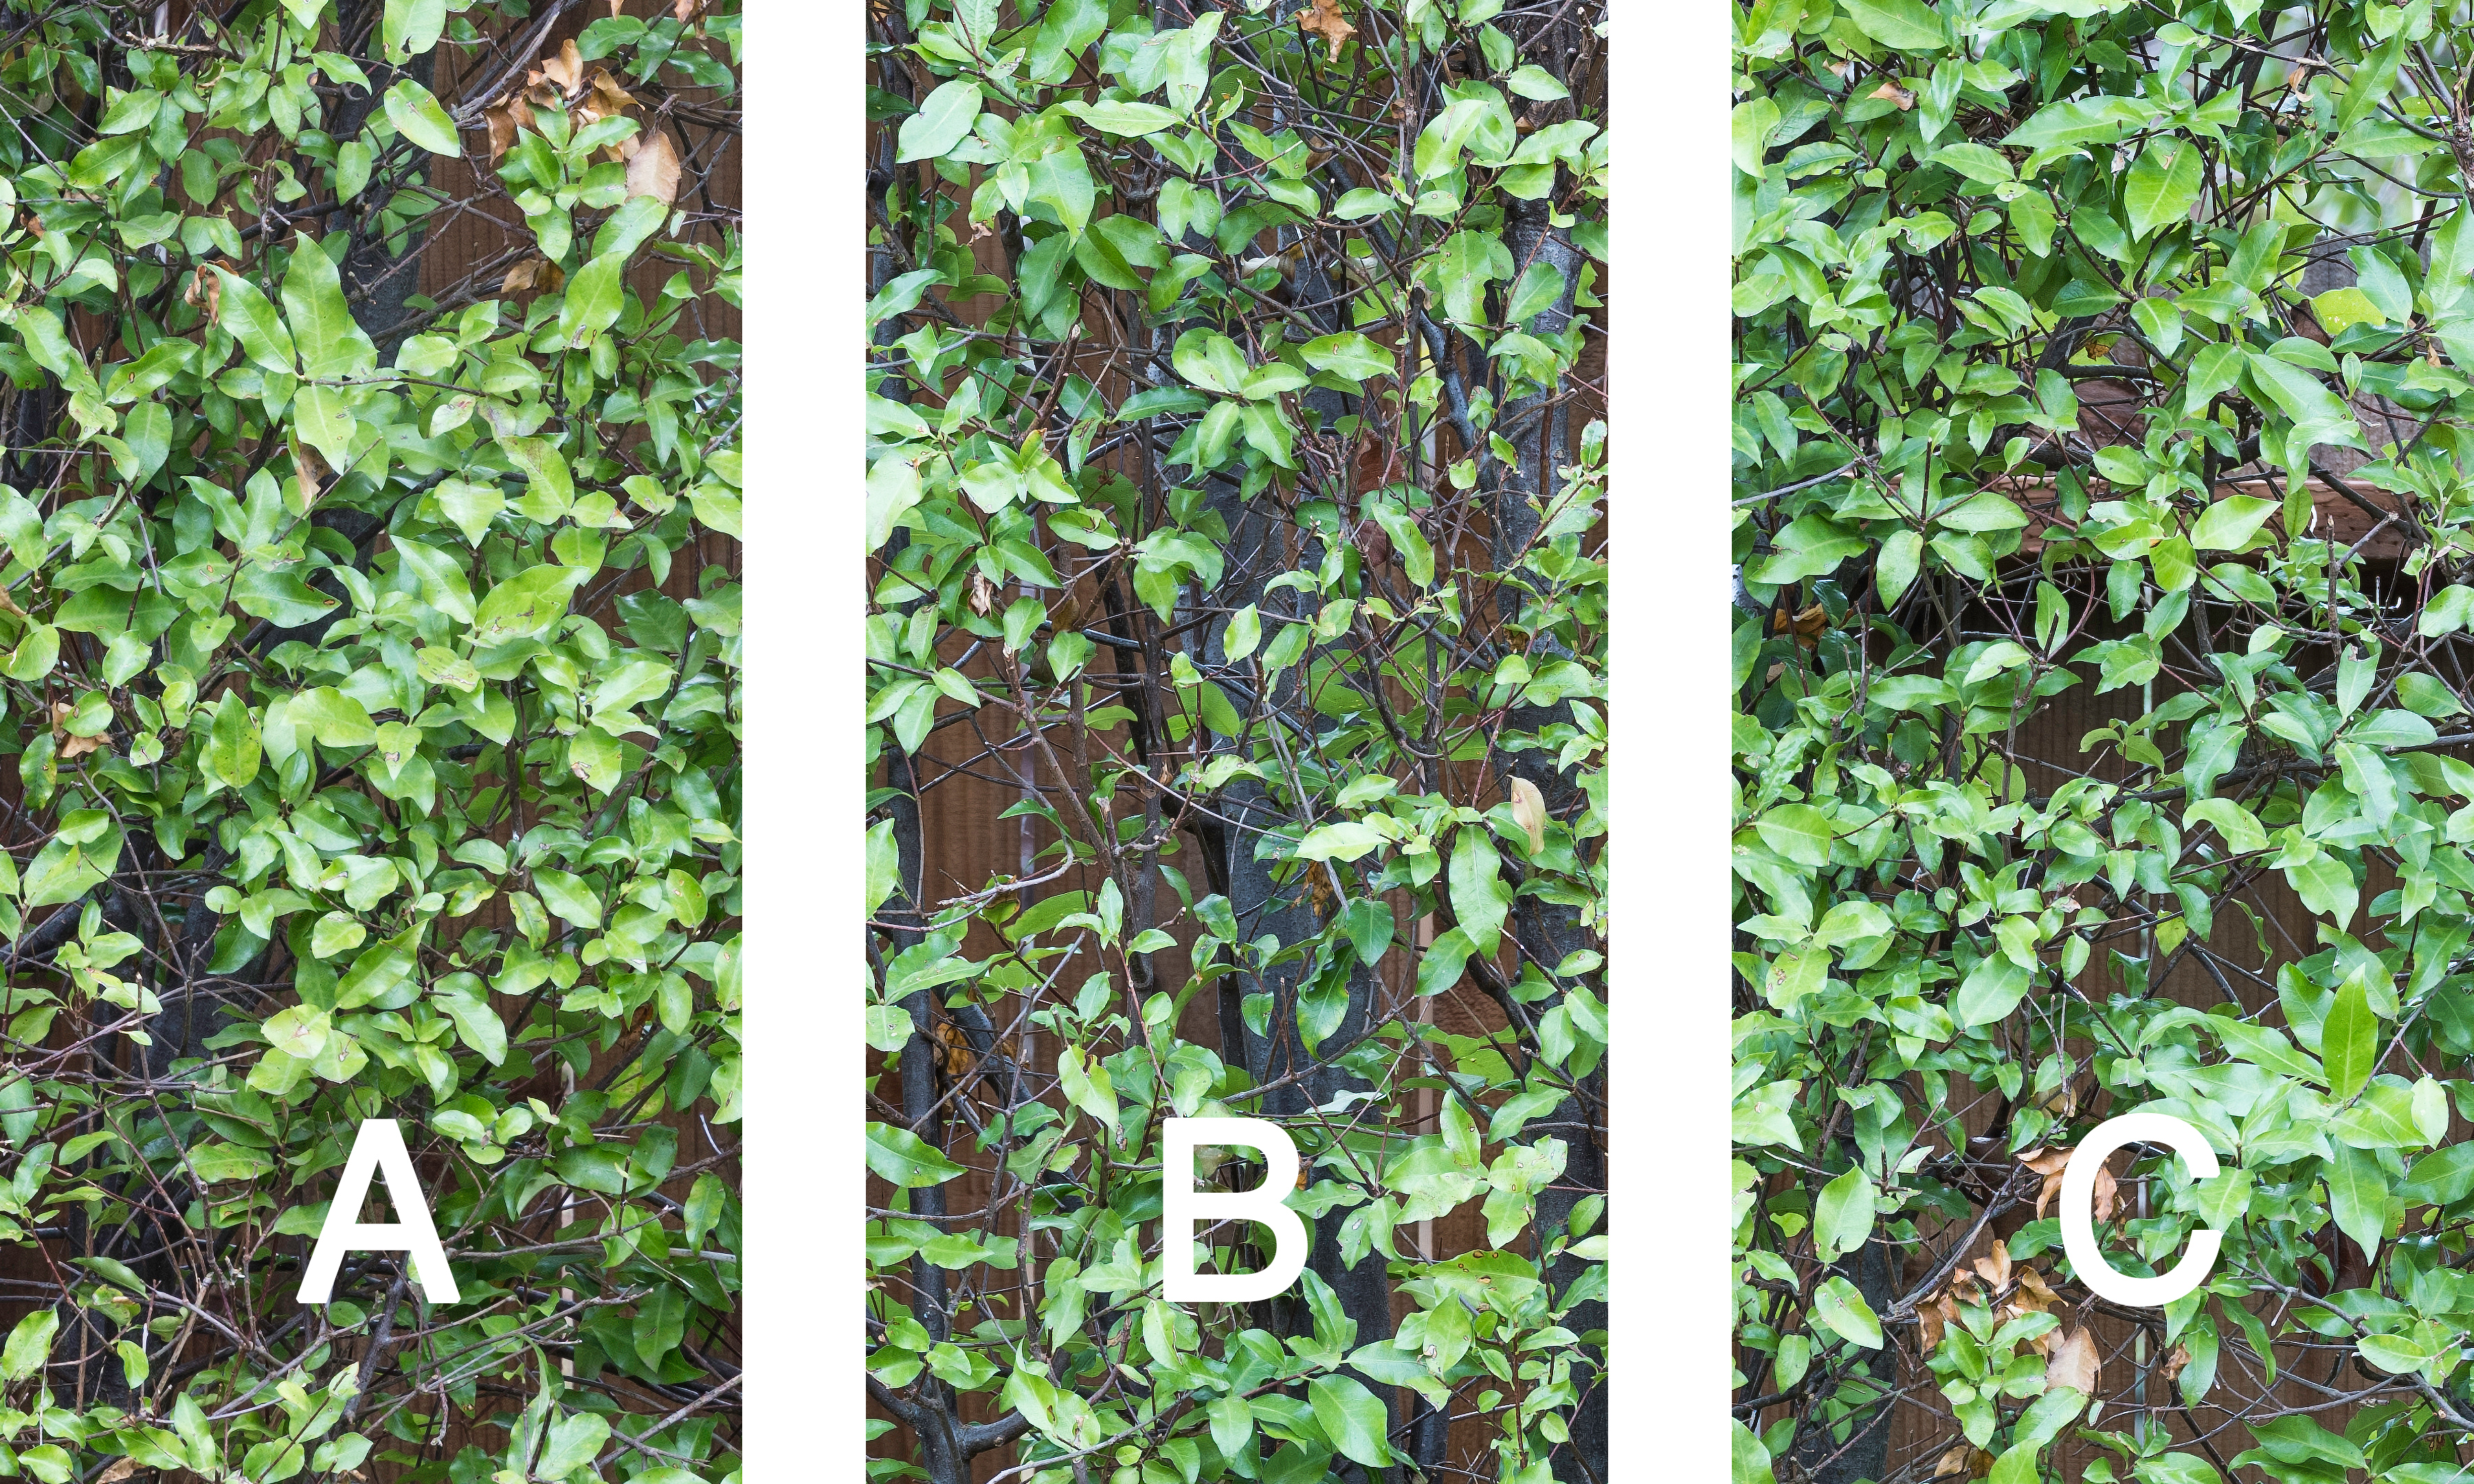
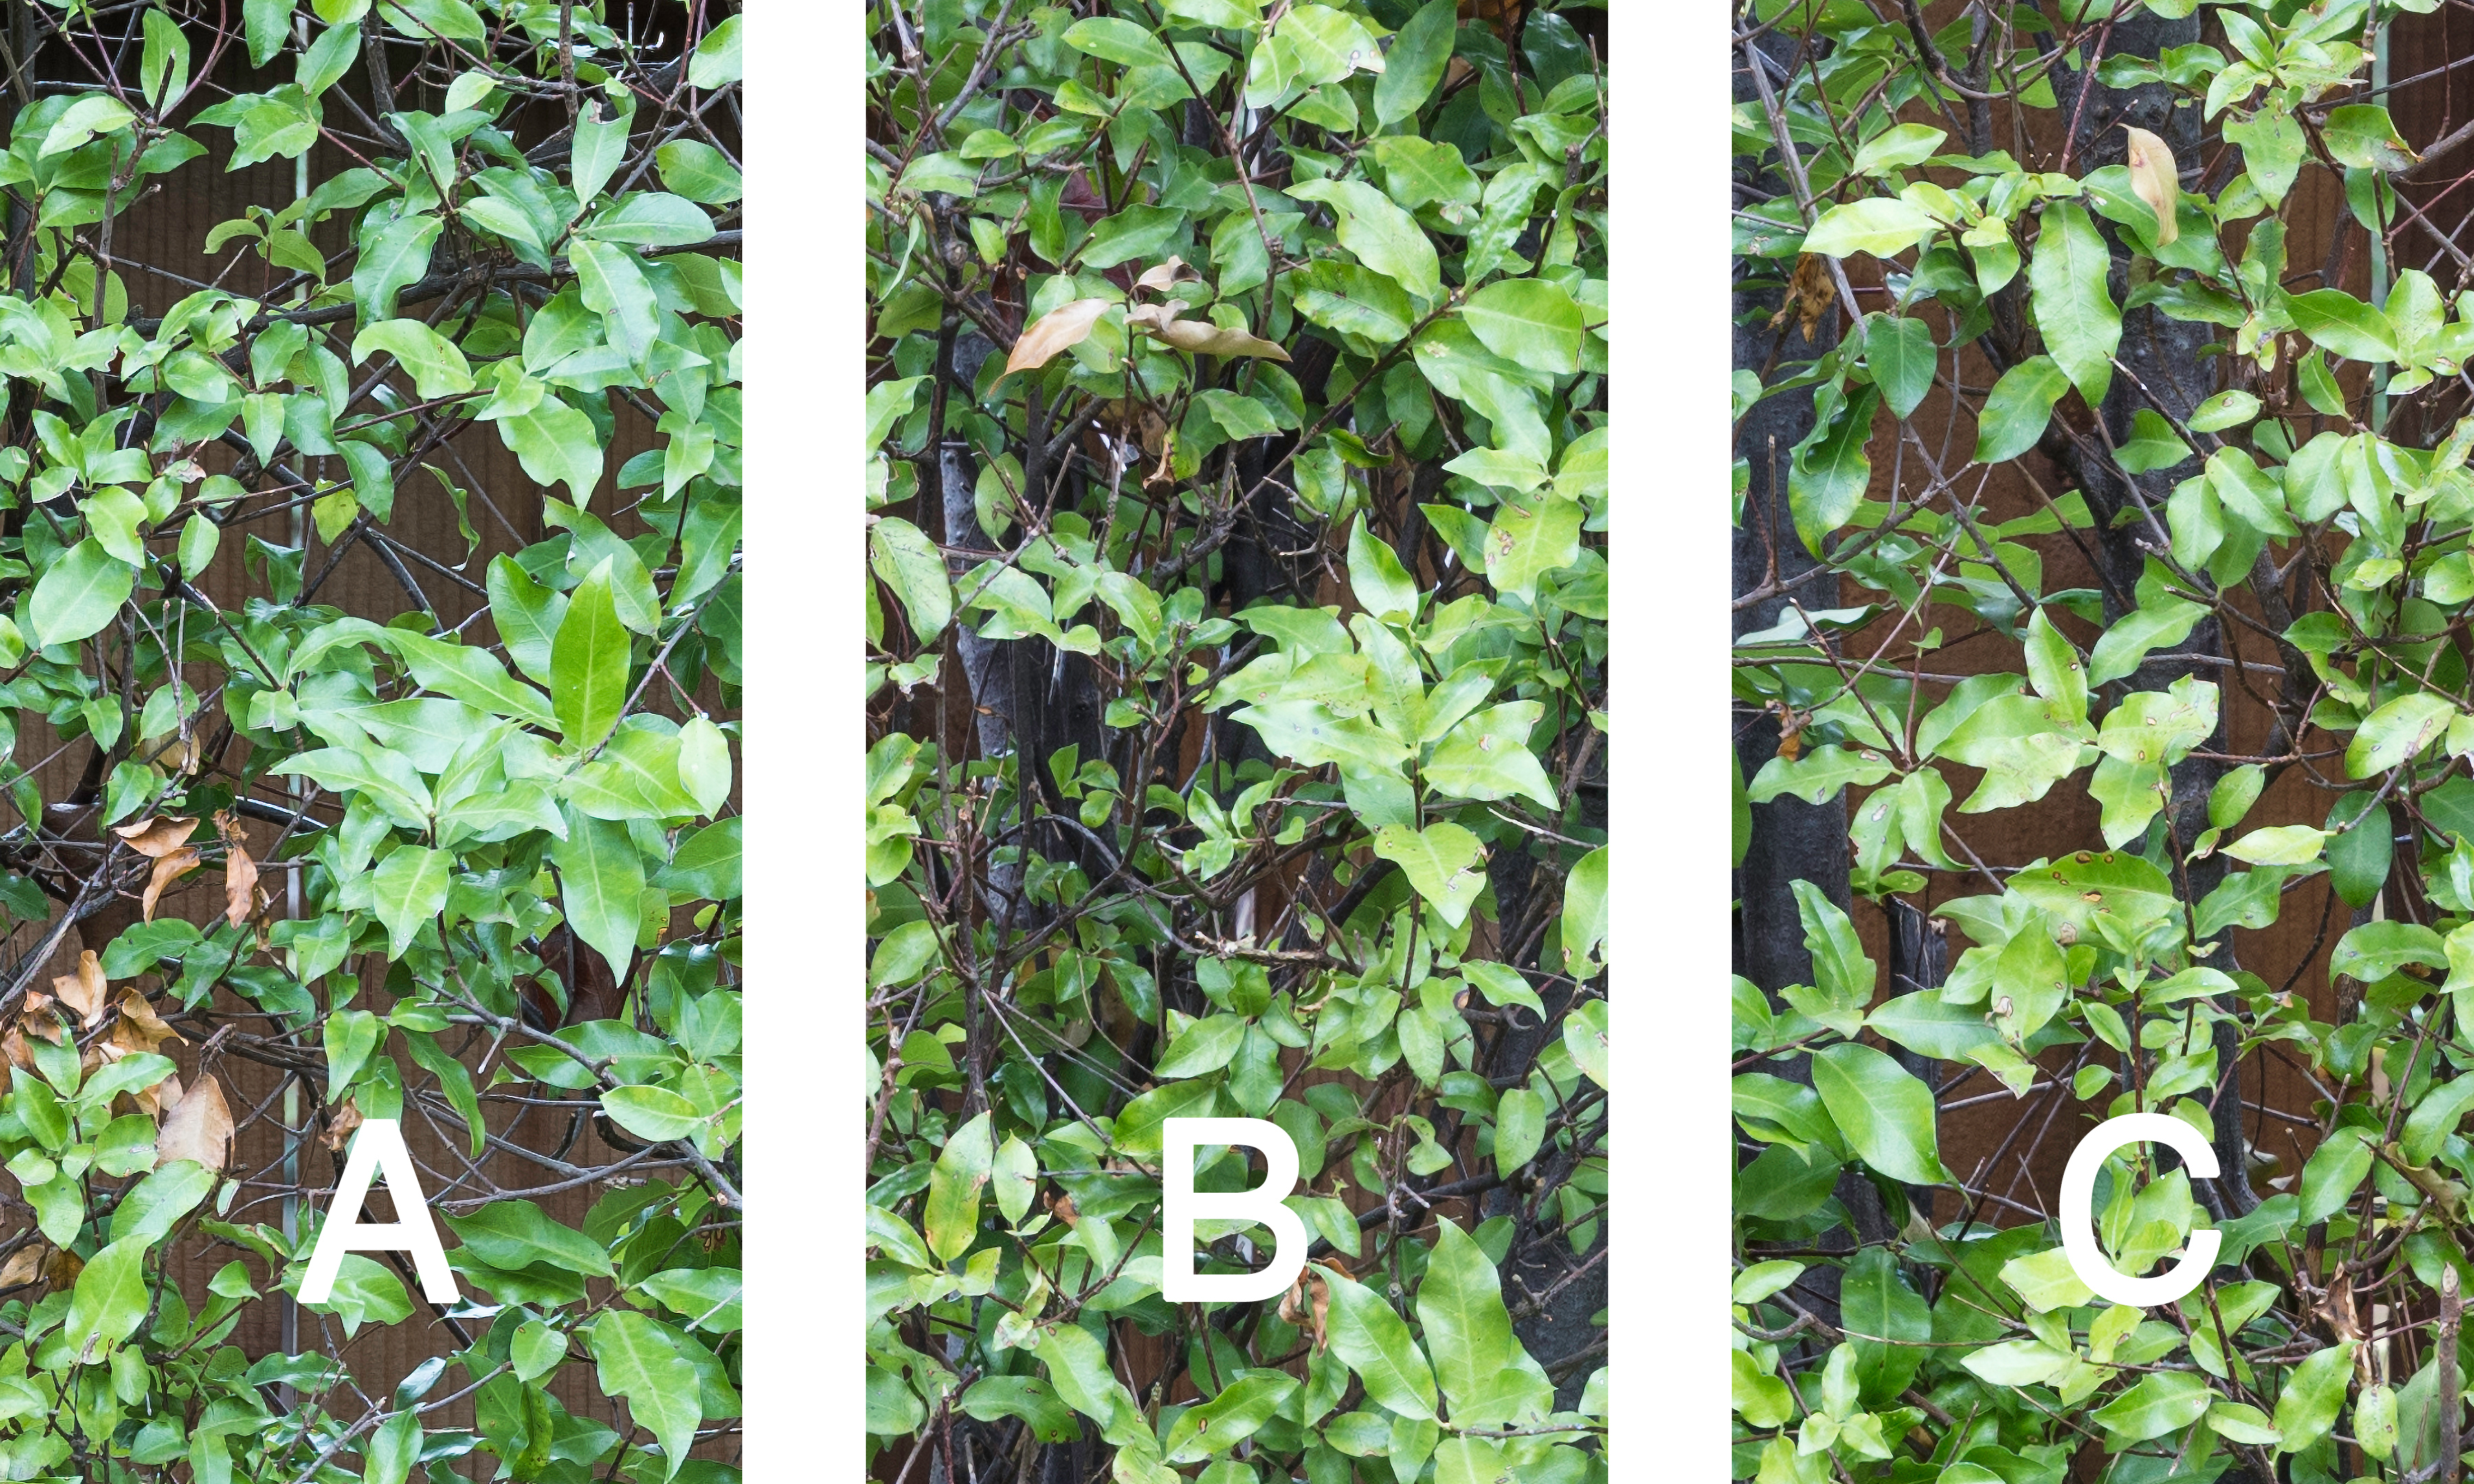
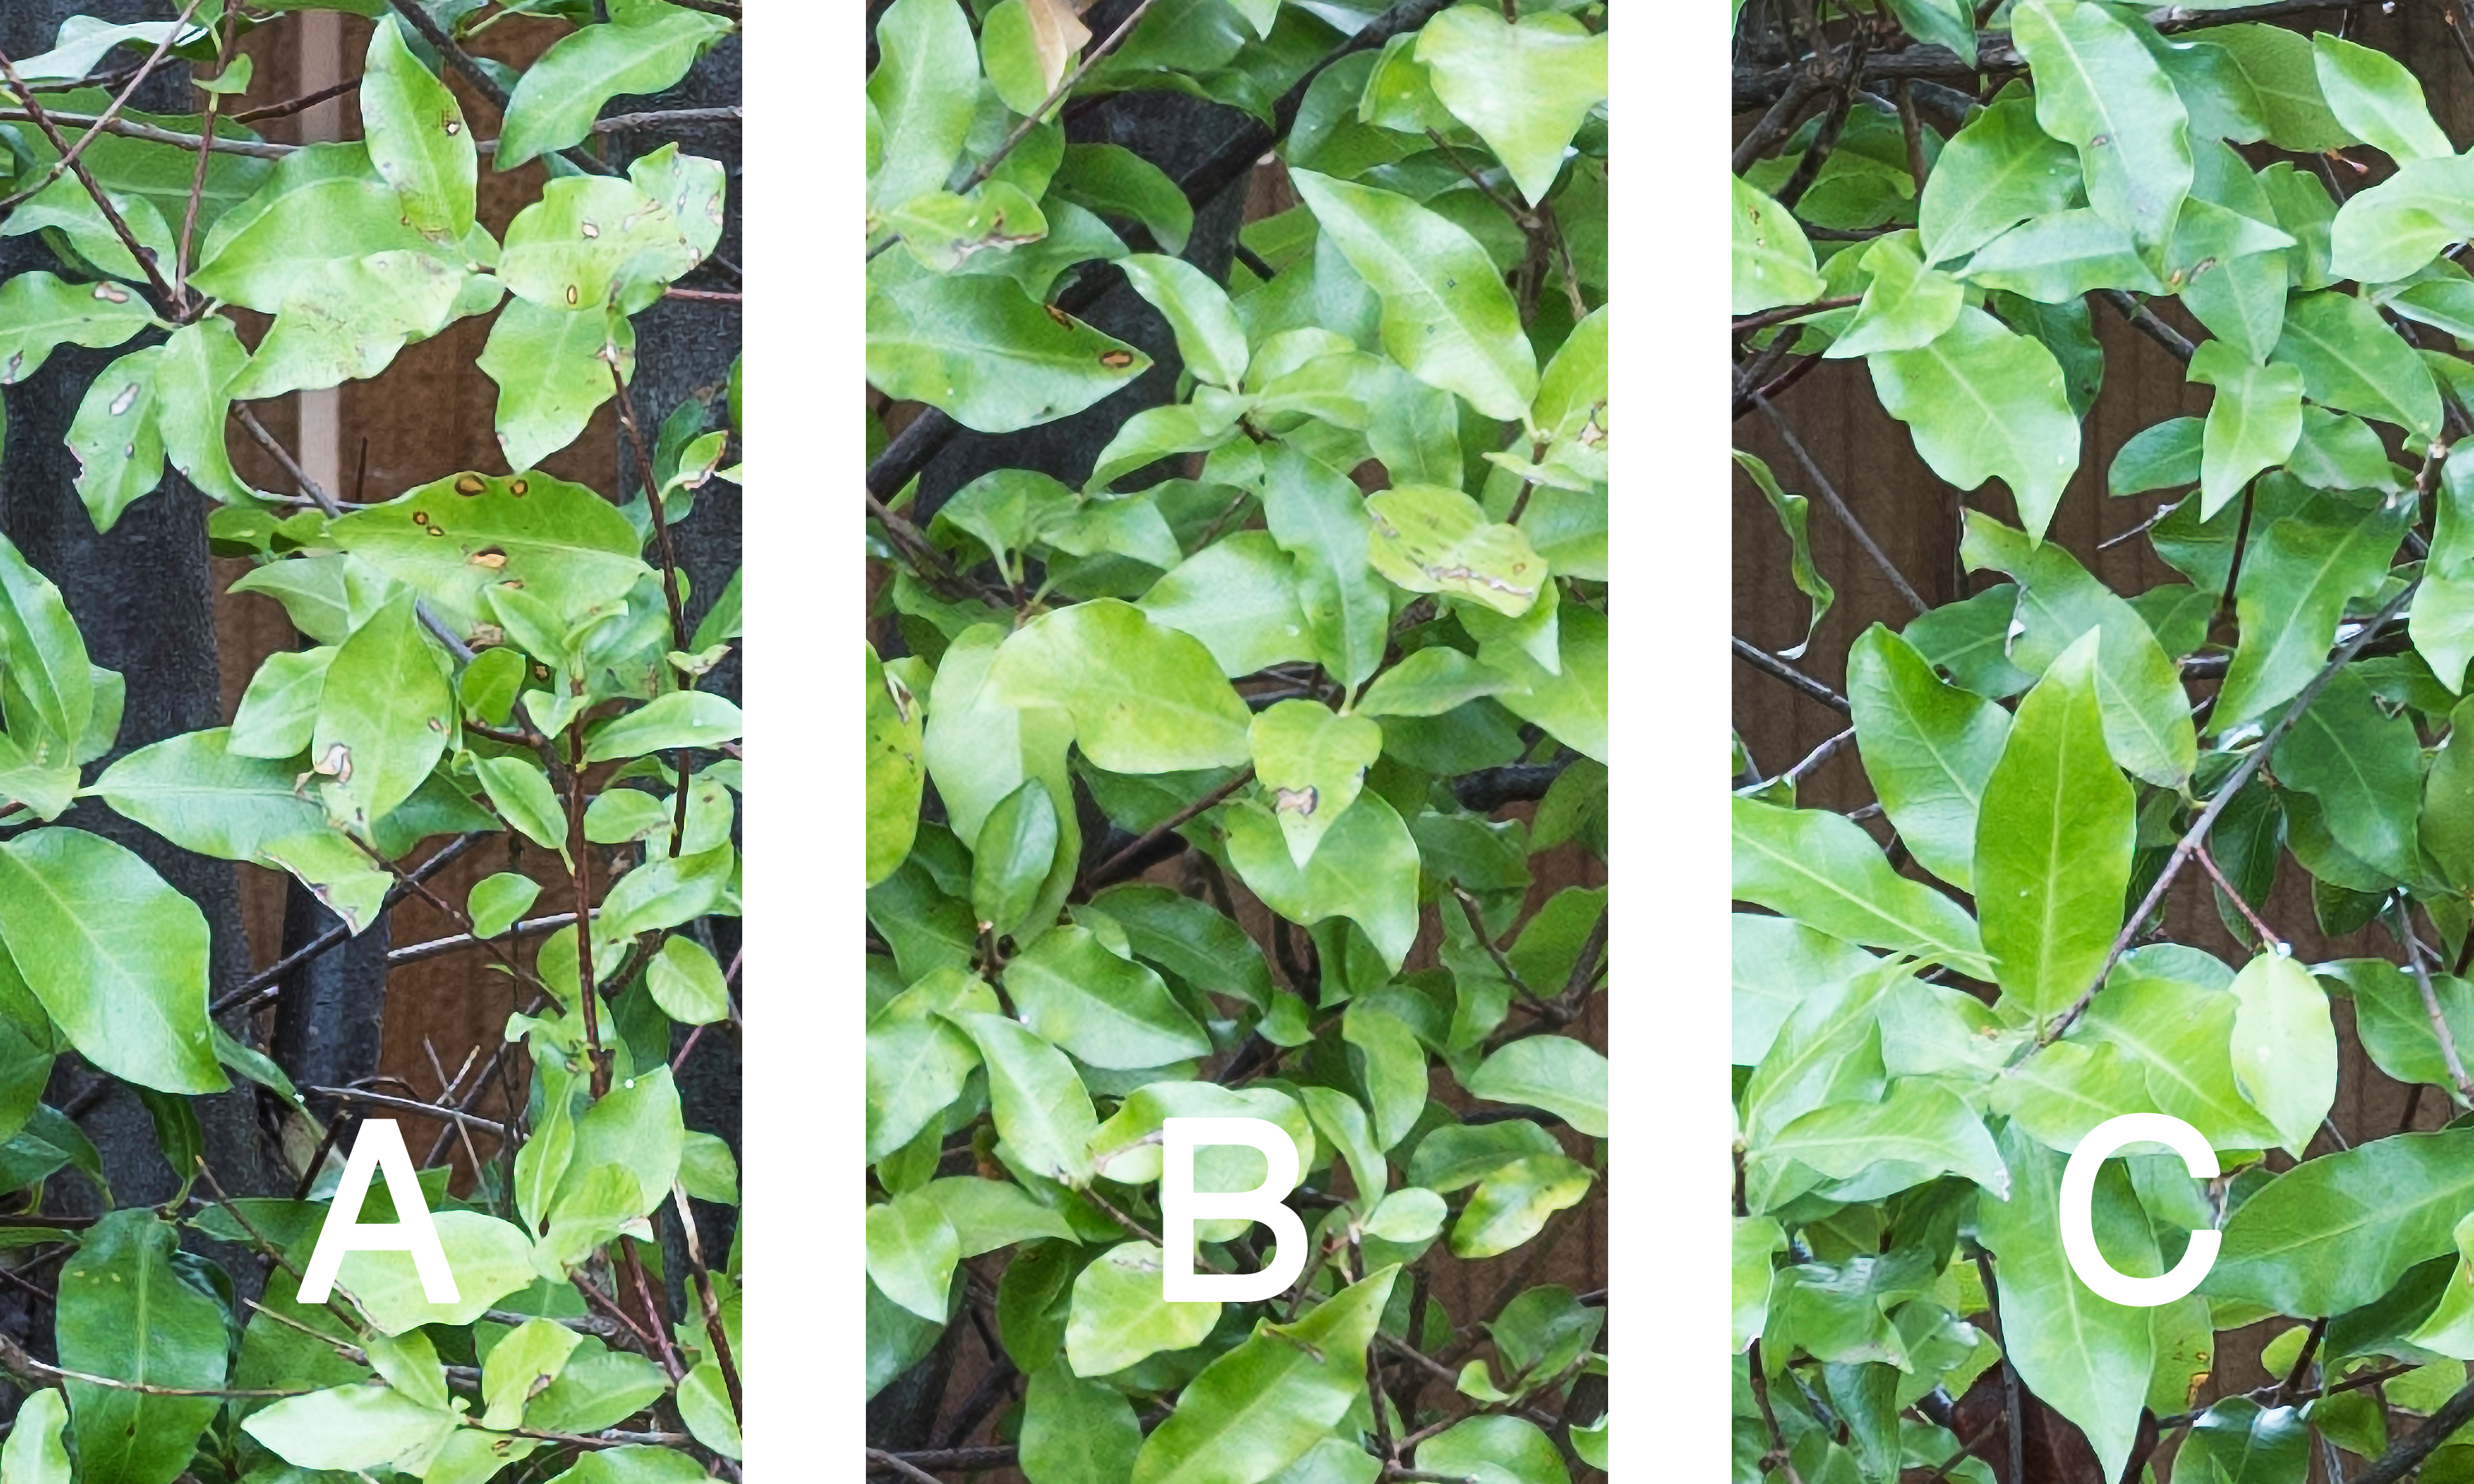
Above are two tiny, highly magnified sections of the original image. In the upper one, if you look carefully, you can see a sort of faint, darker smudge behind the individual light-colored bird above the line of darker birds. I used the brush to outline the darker area, then had Generative AI Remove take it out.
The lower image was the result. It is faint, but I swear that it replaced the light colored bird with… the moon!
That’s just plain weird.
G Dan Mitchell is a California photographer and visual opportunist. His book, “California’s Fall Color: A Photographer’s Guide to Autumn in the Sierra” is available from Heyday Books, Amazon, and directly from G Dan Mitchell.
Blog | About | Instagram | Flickr | Facebook | Threads | BlueSky | Email
Links: Articles, Sales and Licensing, my Sierra Nevada Fall Color book, Contact Info.
Scroll down to share comments or questions. (Click post title first if viewing on the home page.)
All media © Copyright G Dan Mitchell and others as indicated. Any use requires advance permission from G Dan Mitchell.

